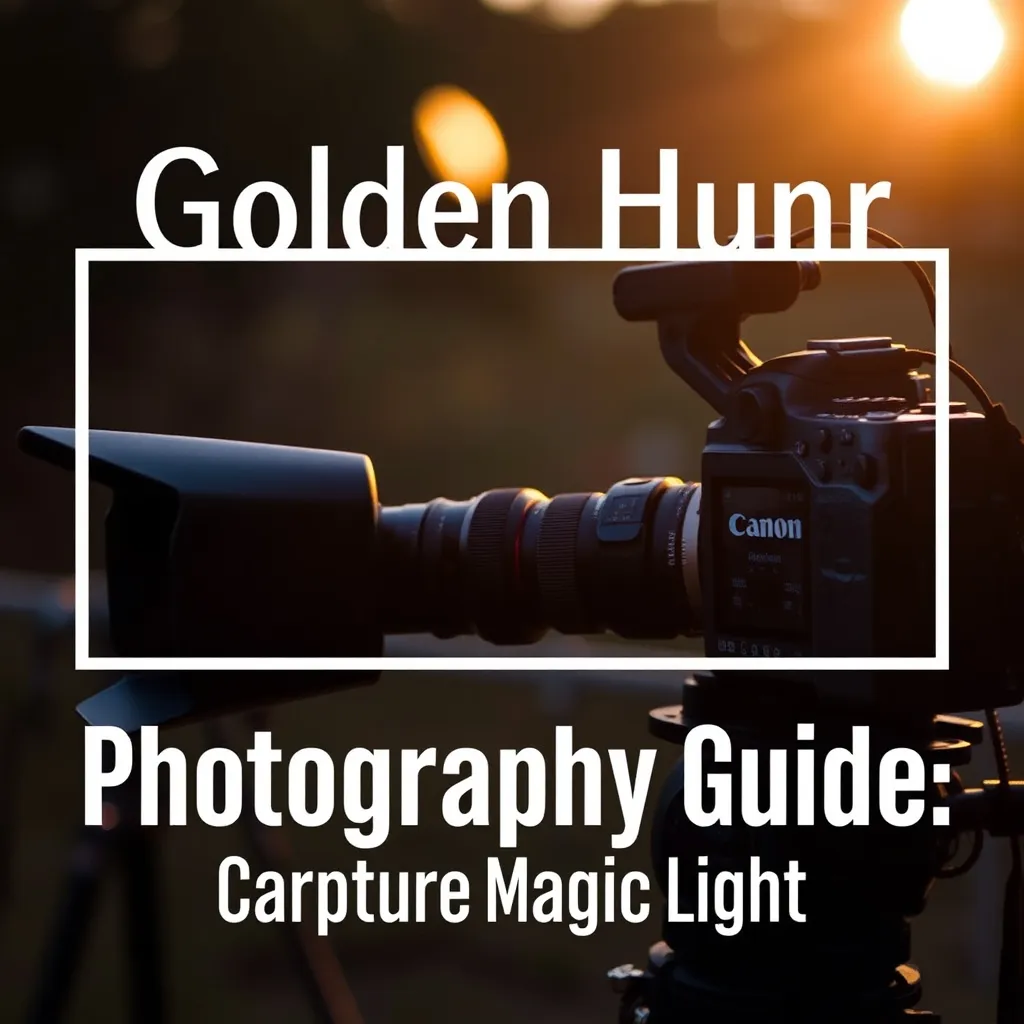
There’s a reason golden hour is a photographer’s favorite time of day. The low sun casts a warm, diffused glow that transforms even the most ordinary scene into something extraordinary. Whether you're shooting sweeping landscapes or intimate portraits, the hour after sunrise or before sunset offers a natural softness that hard midday light simply can’t match. But capturing that magic requires more than just showing up with a camera—it demands patience, preparation, and an understanding of how light behaves.
To make the most of golden hour, arrive at your location at least 30 minutes before the sun dips below the horizon. This gives you time to scout compositions, set up your tripod, and adjust your settings as the light shifts. A wide-angle lens is ideal for expansive landscapes, but don’t overlook the details—a telephoto lens can isolate textures in rocks or foliage, adding depth to your shots. And if you’re working with a long exposure technique, golden hour is the perfect time to experiment with silky waterfalls or streaking clouds.
Golden Hour Light: How to Work with It
Golden hour light is directional and warm, but it’s also fleeting. The key is to let the light guide your composition. Position yourself so the sun is behind you, illuminating your subject from the side or slightly behind. This creates a rim light that separates your subject from the background, adding a three-dimensional quality to your images. For landscapes, look for leading lines—rivers, roads, or fences—that draw the viewer’s eye toward the horizon where the sun is setting or rising.
White balance is another critical factor. While auto white balance can work in a pinch, manually setting your camera to around 5,500–6,500K will enhance the golden tones. If you’re shooting in RAW, you can always adjust the white balance later in post-processing, but getting it right in-camera saves time and preserves image quality. And don’t forget to underexpose slightly to retain highlight detail—golden hour light can be intense, and blown-out highlights are harder to recover than you might think.
For a deeper dive into exposure techniques, check out DPReview’s guide on golden hour photography, which breaks down the science behind the light and offers practical advice for both beginners and seasoned shooters.
Beyond the Basics: Creative Golden Hour Shots
Once you’ve mastered the fundamentals, it’s time to get creative. Golden hour is perfect for backlighting, where the sun peeks through subjects like trees or buildings, creating dramatic silhouettes. Try shooting through objects—a window, a gap in rocks, or even your own fingers—to add an artistic flair. Silhouettes work especially well when the subject is recognizable but lacks detail, like a lone tree against a fiery sky or a person standing at the edge of a cliff.
Another technique to explore is lens flare. While it’s often seen as a mistake, intentional flare can add a dreamy, ethereal quality to your images. To control it, use a lens hood and slightly adjust your angle until the flare appears where you want it. You can also experiment with reflections—golden hour light bouncing off water or metallic surfaces can produce stunning, mirror-like effects.
Remember, golden hour isn’t just about the light; it’s about the mood. The soft hues, long shadows, and warm tones evoke emotion, whether it’s nostalgia, tranquility, or awe. So next time you’re out with your camera, resist the urge to rush. Take your time, observe how the light changes, and let it inspire your creativity. The results will speak for themselves.