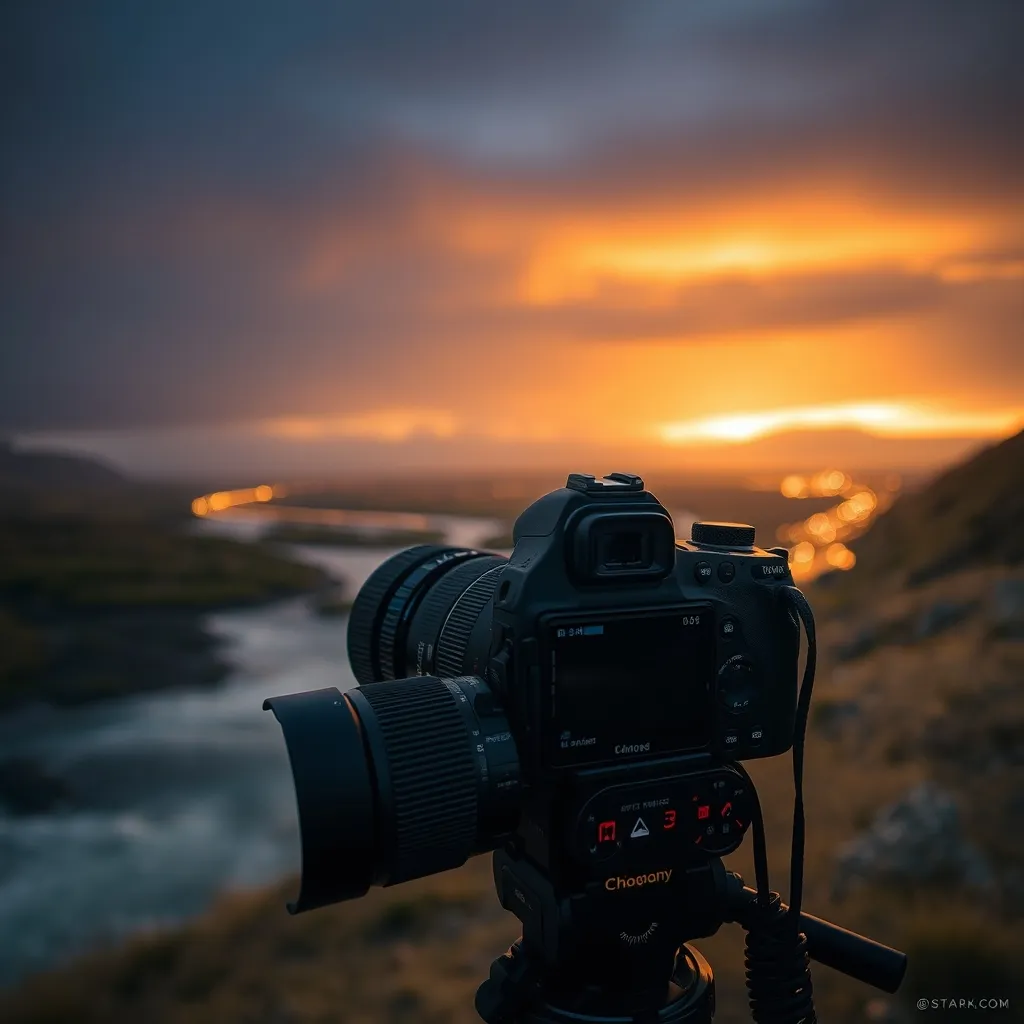
Long exposure landscape photography transforms ordinary scenes into dreamlike compositions, where moving elements like water, clouds, and wind blur into soft streaks of color. Whether you're capturing the silky flow of a river or the streaking trails of stars, mastering this technique requires patience, precision, and the right tools. Here’s how to elevate your landscape shots with long exposures.
Choosing the Right Equipment
While a sturdy tripod is non-negotiable for long exposures—preventing camera shake during slow shutter speeds—a quality neutral density (ND) filter is equally essential. ND filters reduce the amount of light entering the lens, allowing you to use slower shutter speeds even in bright conditions. For beginners, a 6-stop or 10-stop ND filter is a great starting point. Invest in a filter with consistent optical quality to avoid unwanted color casts or vignetting. Brands like Lee Filters and Formatt-Hitech are trusted for their precision and durability. For a deeper dive into filters, DPReview’s guide on ND filters is an invaluable resource.
Additionally, a remote shutter release or your camera’s built-in timer can eliminate vibrations when pressing the shutter button. If you’re shooting in low light, consider a camera with excellent high-ISO performance to maintain image quality when using slower shutter speeds.
Mastering Camera Settings
The key to successful long exposure photography lies in balancing shutter speed, aperture, and ISO. Start by setting your camera to manual mode, allowing full control over each setting. Begin with a shutter speed of around 1/15th of a second and adjust based on your subject and lighting conditions. For silky waterfalls or ocean waves, a shutter speed between 1/4 and 2 seconds often works well, while cloud trails may require 30 seconds or longer. Remember, the slower the shutter, the more pronounced the motion blur.
Aperture plays a crucial role in controlling depth of field and exposure. A mid-range aperture like f/8 or f/11 ensures sharpness across the frame while allowing enough light for proper exposure. However, be mindful of diffraction at smaller apertures, which can soften your image. ISO should remain as low as possible—typically 100 or 200—to minimize noise. If you’re shooting during the golden hour, you’ll have the added benefit of softer, warmer light, which enhances the ethereal quality of long exposures.
Finally, always shoot in RAW format to retain maximum flexibility during post-processing. This allows you to fine-tune exposure, white balance, and contrast without sacrificing image quality. With these techniques in mind, you’ll be well on your way to creating captivating long exposure landscapes that stand out from the crowd.